Building an Ergodox - Part I: Sourcing Materials and Tools
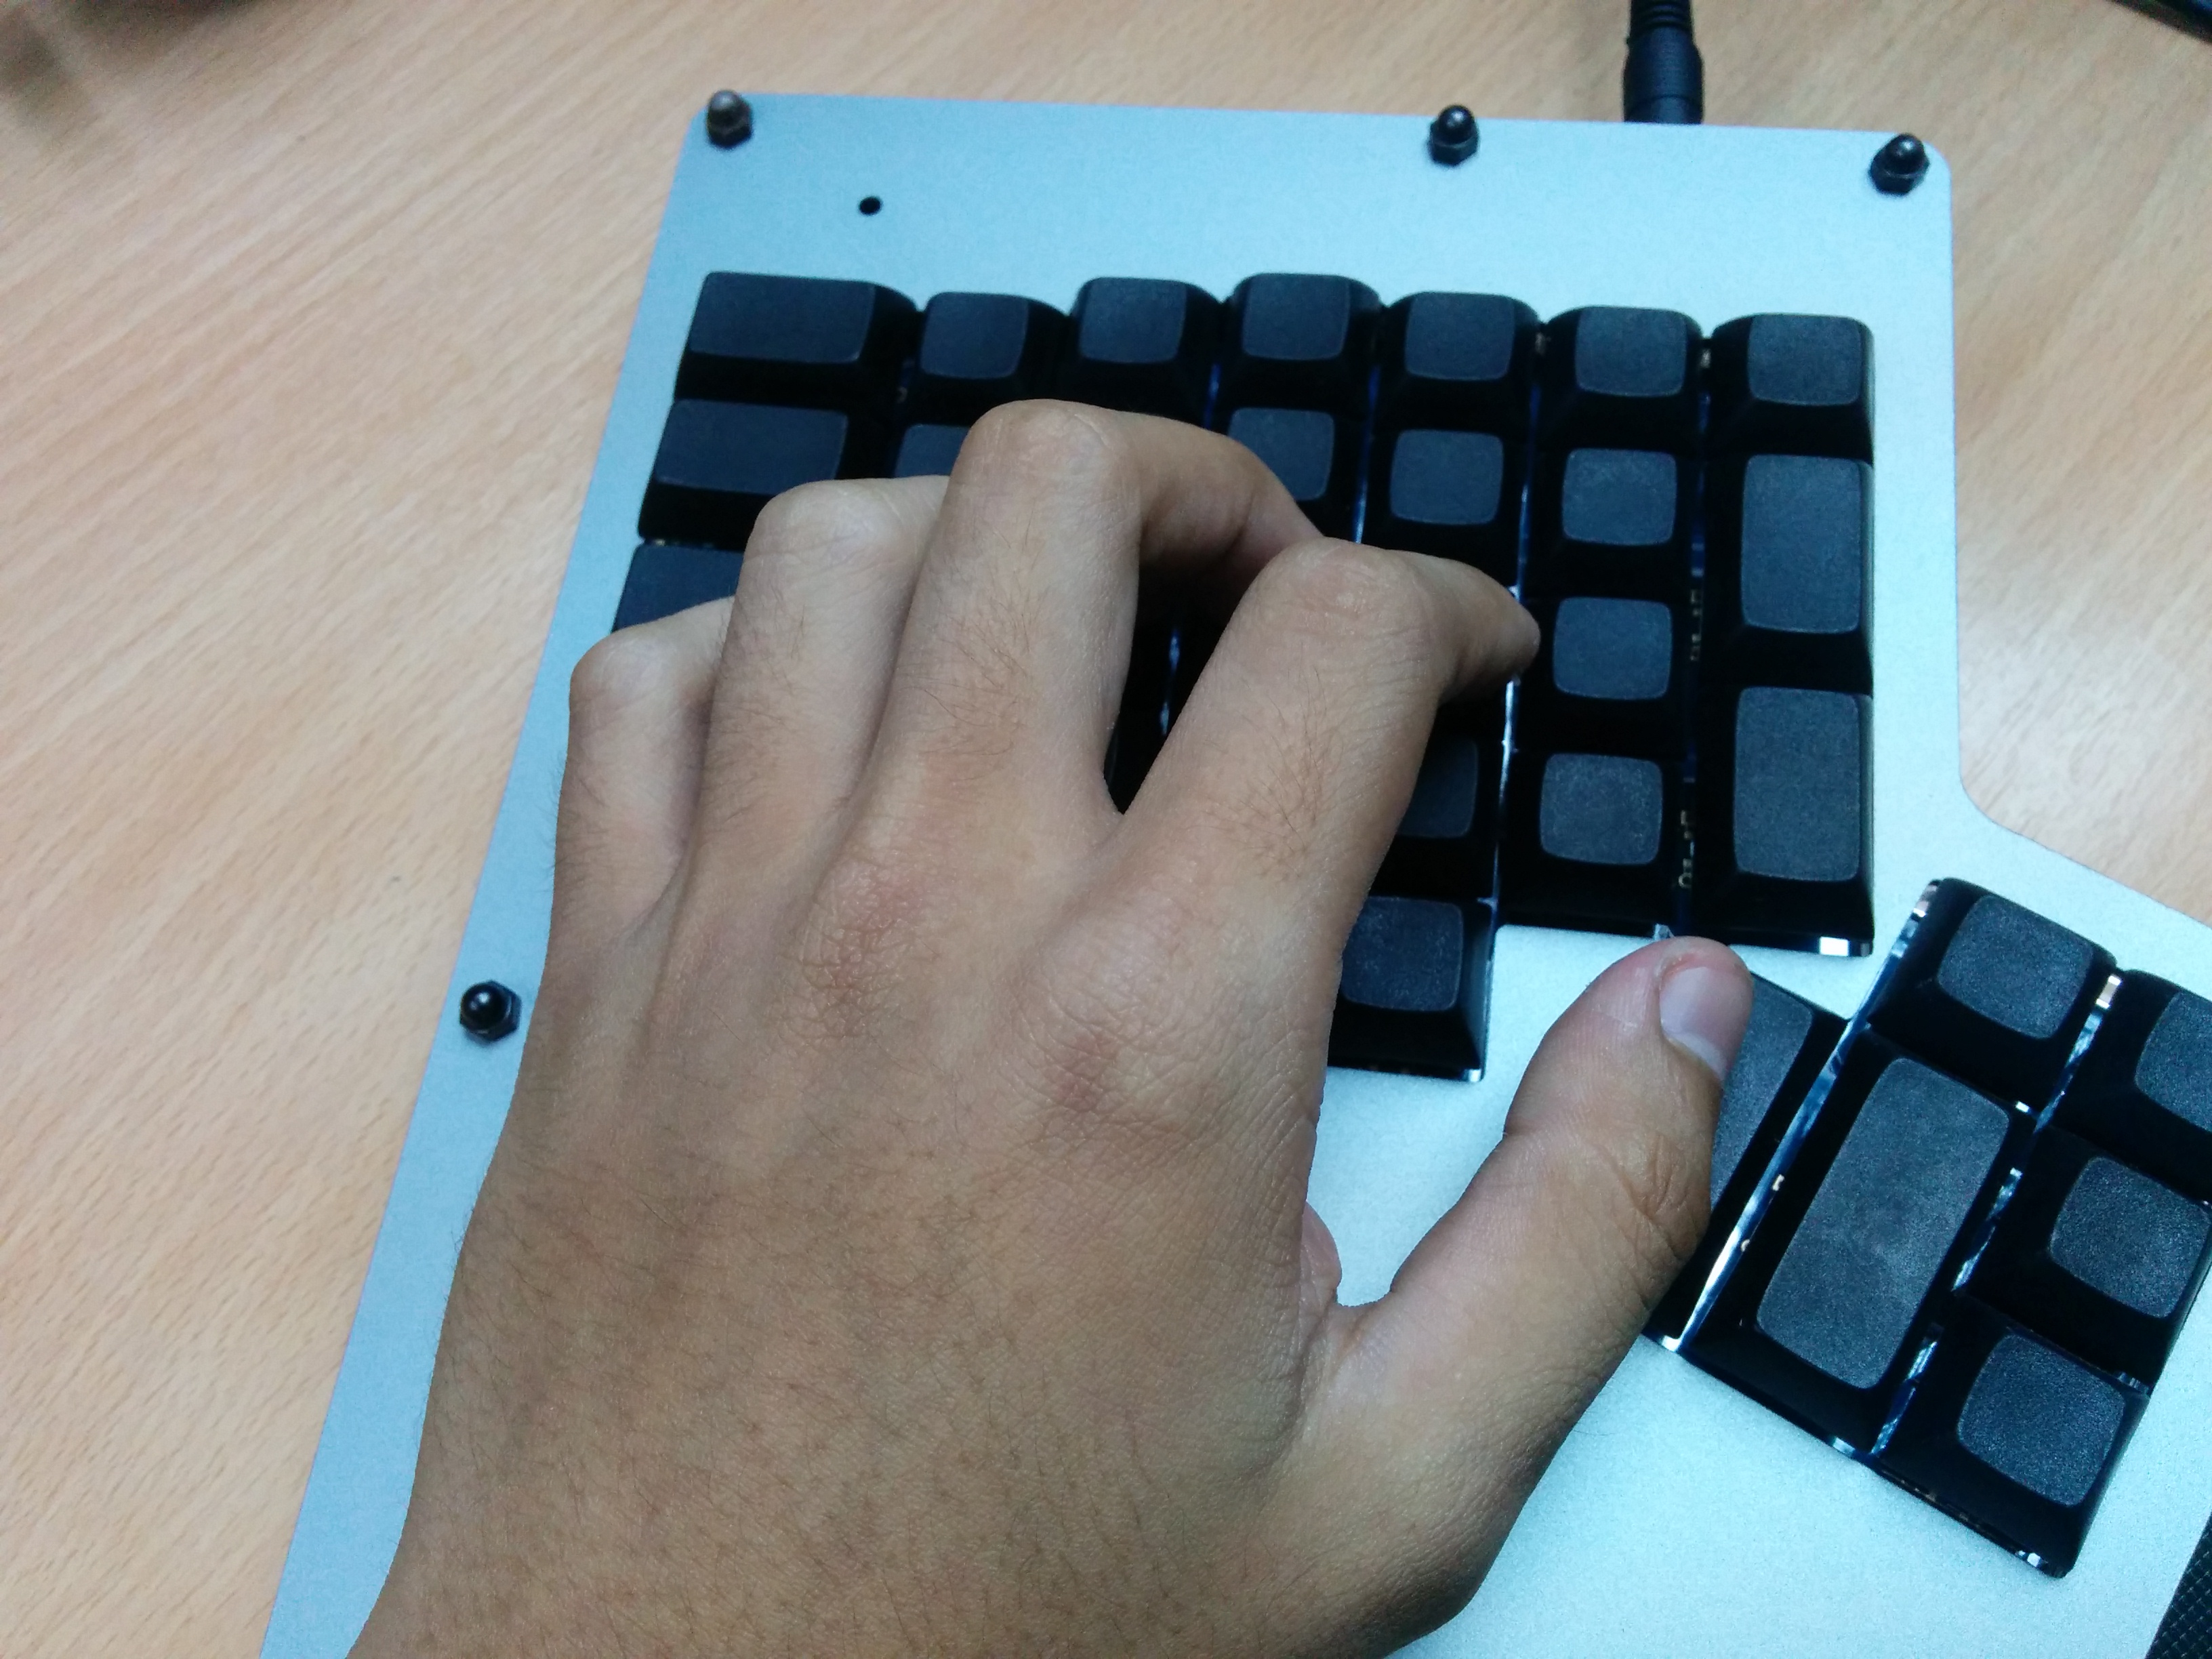
Ergodox is a split ergonomic keyboard that you have to build yourself. Anyone can look into how an Ergodox can be built through their website. I used to think that I could never build one for myself because I don’t have formal training in electronics, I don’t know how to solder, and since I live in the Philippines, it would be quite challenging for me to acquire the tools and materials that I need to build one. That mentality went on for quite some time until I was introduced to Massdrop. I took the plunge and bought a kit.
For the rest of this article, I will detail how I acquired the materials and tools that one will need to build an Ergodox. Also, all details will focus on how to obtain stuff in my home country, the Philippines. For the succeeding articles of this series, I will write about why you shouldn’t be afraid to build your own Ergodox, how to build one even without soldering skills, and how to configure it to suit your needs. Stay tuned!
Getting a kit
The Ergodox website has a detailed list of the parts you need to build an Ergodox. However, it would cost you more if you buy each part selectively, especially since not all parts can be bought in one store. Which means, more shipping costs for you. Massdrop is a place where you can do group buys of different items. The advantage of doing so is reduced cost. This is because large quantities of items bought directly from the manufacturer usually receive discounts. Aside from that, you get a full Ergodox kit in one shot, which means reduced shipping costs.
Paying for your kit
You can pay using the usual methods: PayPal, or credit card. If you don’t have both, don’t be disheartened. You can also use Bitcon to pay for your Massdrop purchases. coins.ph is a good place to buy Bitcoins in the Philippines, along with buybitcoin.ph and coinxchange.ph.
DISCLAIMER: I work at coins.ph ;)
Shipping your kit
Massdrop ships internationally for $24.99. You can either use the Massdrop option, or you can have your item shipped through Johnny Air. I prefer having my items shipped through Johnny Air using their New York address. As of time of writing, I already had ~6 shipments through Johnny Air, and I never had a problem with their service.
Getting the tools you need
Massdrop has a great guide on how to build an Ergodox, with pictures of the tools you need. Another great resource for general soldering advice is this video series from Dave Jones of EEVBlog. I highly recommend watching that series before jumping in to your first soldering project.
If you’re like me, you don’t have any of the tools shown in Dave Jones’ video. What follows are tips on how to acquire these tools in the Philippines.
Soldering lead, tweezers, etc.
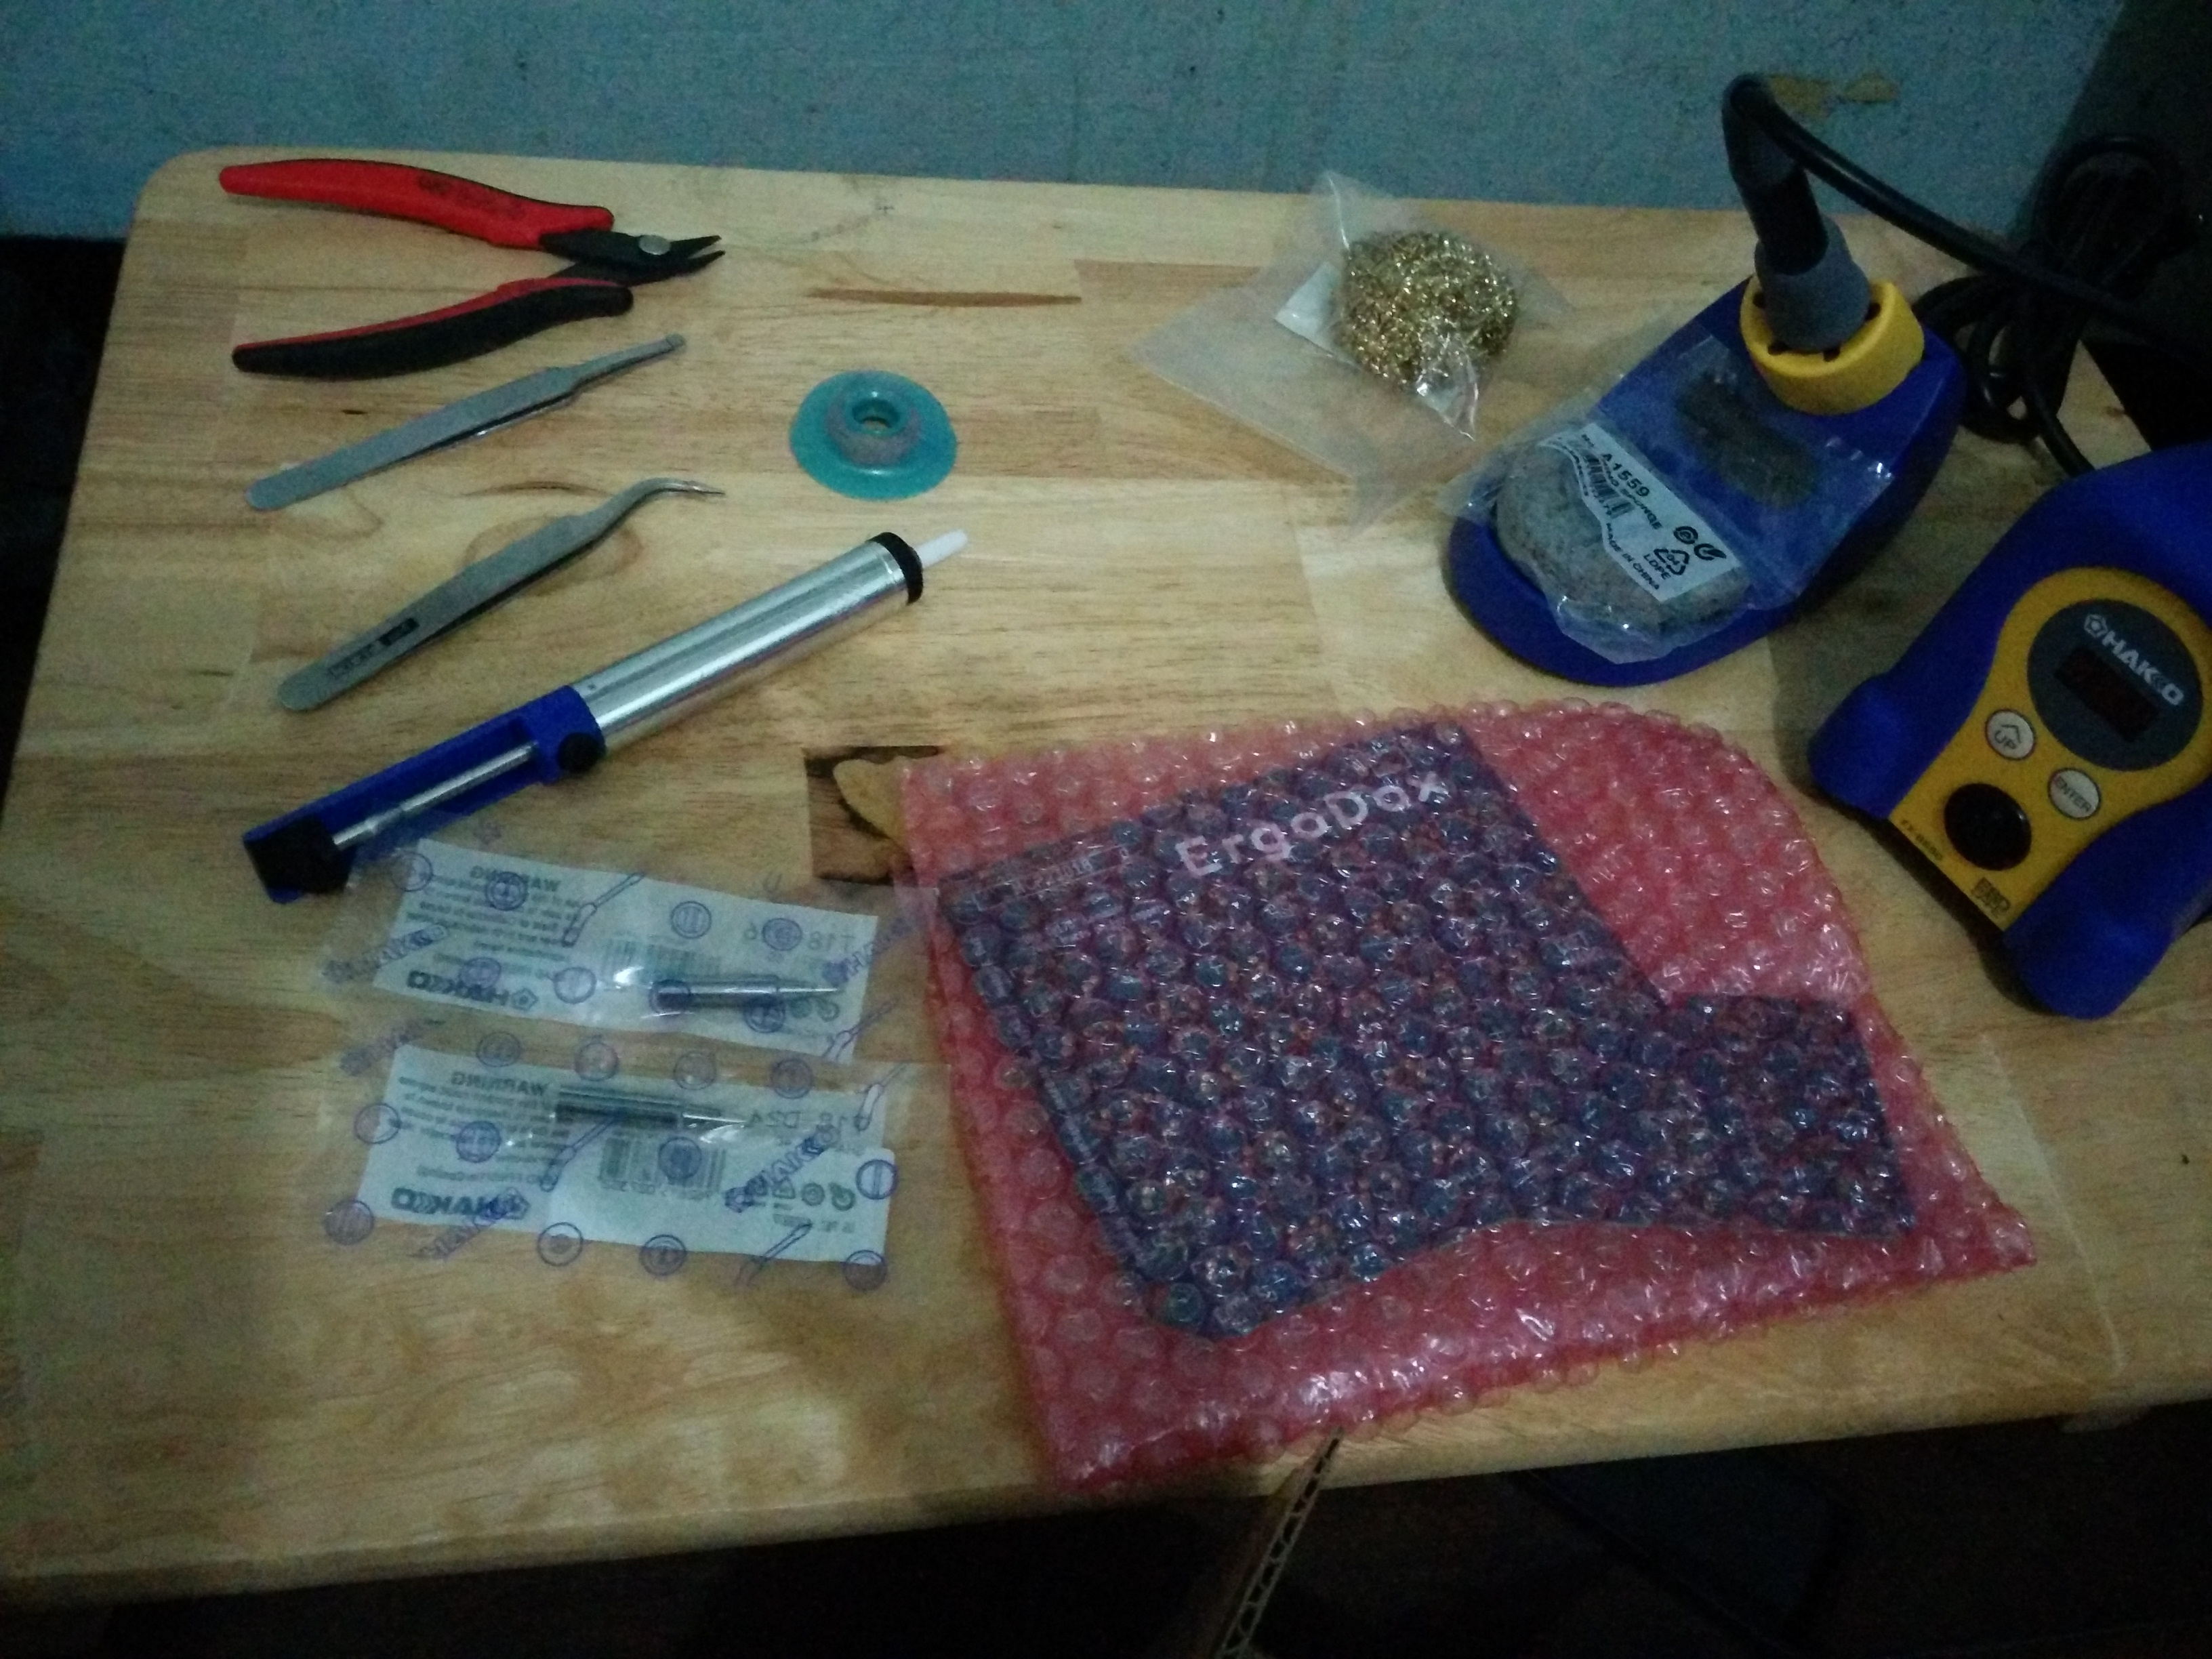
You need a roll of soldering lead with a diameter of 0.4mm. Anything larger than that will make it harder for you to solder the tiny smd components. It’s ok to use 1mm for soldering the switches, but you don’t have to get two separate rolls of soldering lead. Just get 0.4mm and you can use that for every component that you have to solder. I used a rosin-cored 63/37 variant, but a common 60/40 will also do the job. Don’t get a lead-free soldering wire since they sometimes have corrosive properties.
It’s important to use tweezers that are both stainless-steel and anti-static because most of the components you’ll be working on are sensitive to ESD. A pair of straight-point tweezers will do the job, but for some situations, you might want to use a curved sharp-point jeweler’s tweezers instead. Actually, it’s a matter of preference. I used the curved tweezers most of the time. They’re pretty cheap so I suggest you get both.
You’ll also be using a wire cutter for the most part. Get a flush cutter, the one with a beveled side and a flat side. Cut the wires with the flat side down. Because even the pros commit mistakes, buy a reasonable length of desoldering wick. Around 2m are more than enough. Get this along with a desoldering pump. In the next articles of this series, I will write about how these two tools helped save my Ergodox. A lamp might also be useful, especially when soldering smaller components.
Soldering iron
I don’t have prior experience to soldering and I’m afraid that I might burn some of the components using the usual soldering iron that plugs directly to a wall socket. They are cheap and you might be tempted to get those instead of the temperature controlled variants, but I suggest you do get a quality soldering iron. It’s more expensive to have burnt components, buy replacements, and ship them back to the Philippines.
I highly recommend the Hakko FX888D. This one is from Amazon and it comes with a wire cutter. It comes with a 1.6mm chisel tip, but it’s still a good idea to buy an extra tip. You can pay for this using the usual methods, and you can have it shipped internationally or through Johnny Air. If you have a friend from the US who will be visiting the Philippines soon, you can also have this shipped through them :p
You can also get a Hakko imitation from e-gizmo. They are out of stock when I was about to buy though, which is why I opted for the real deal. Hakko imitations are also pretty good as far as I’ve heard, but I haven’t tried them personally so I won’t recommend them. YMMV.
Power tool
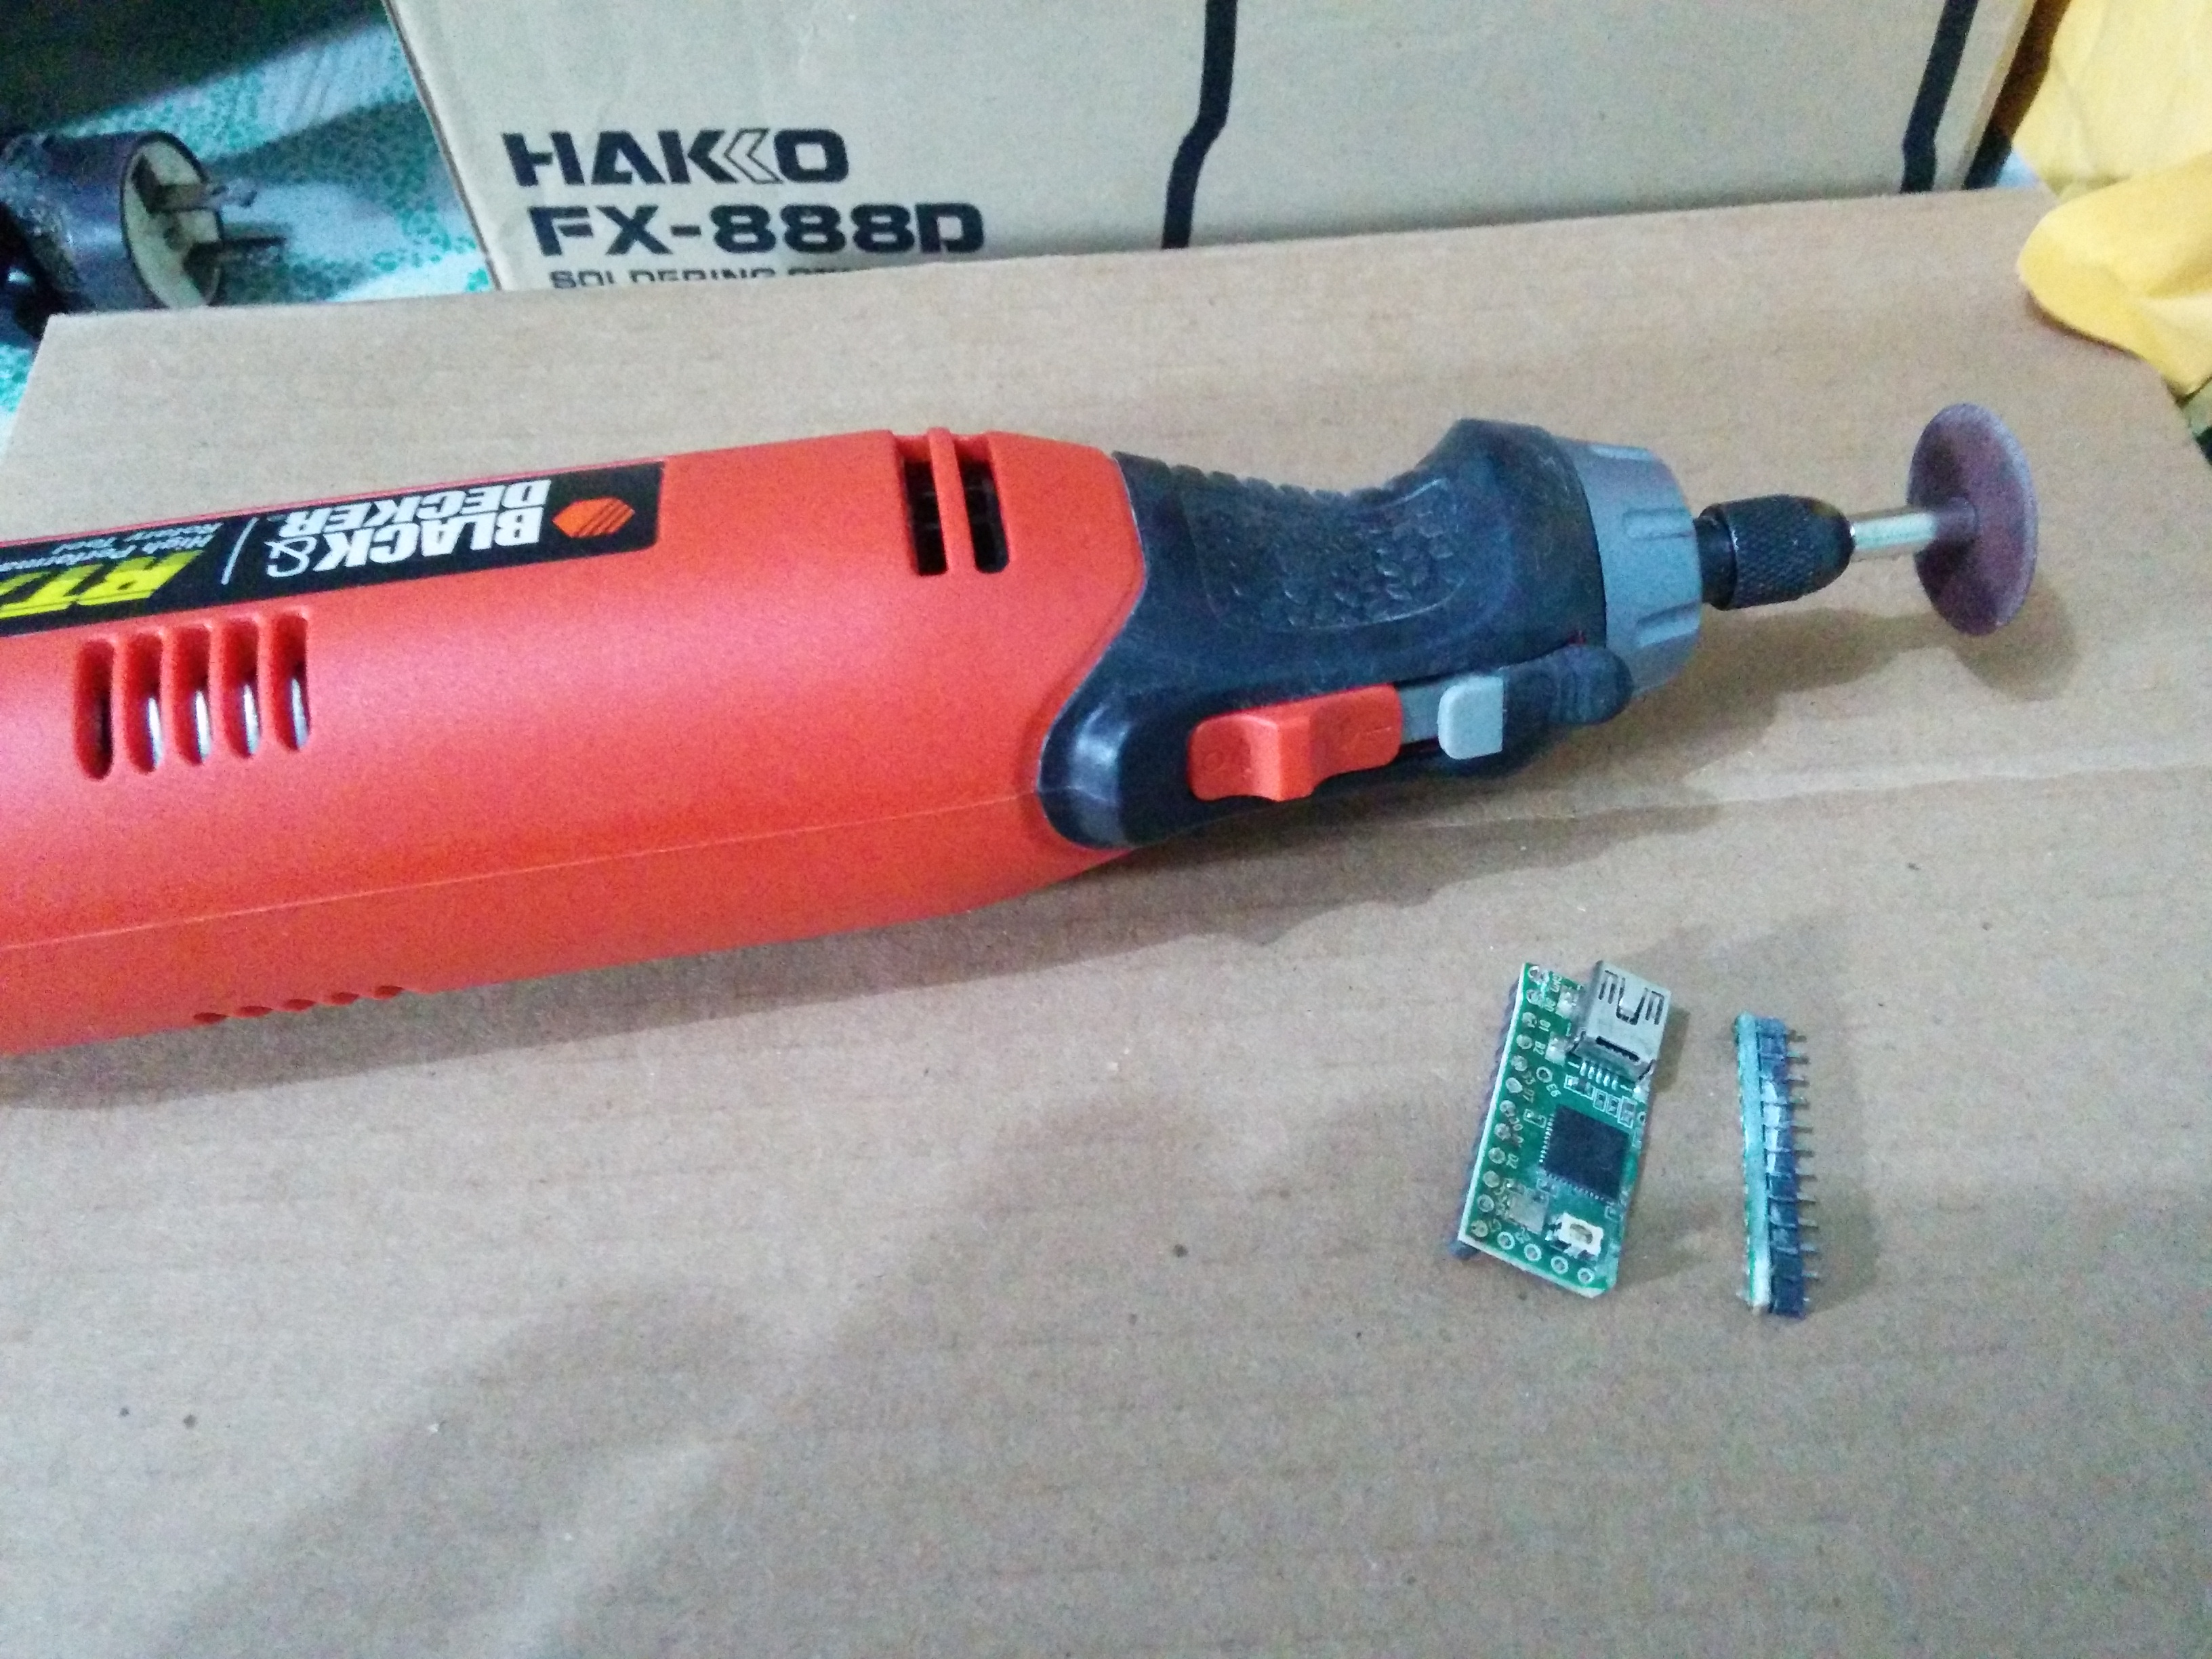
(stay tuned) to make it easier to desolder. It’s still a tool that I would highly recommend because it has even more use cases other than building an Ergodox. You can either get a Dremel 3000, or a Black and Decker RTX-B. The Black and Decker is more common in the Philippines, and it’s readily available in my local hardware store. I got mine from Truvalue, Power Plant Mall. If you do decide to get one of these, get yourself a pair of protective goggles and work gloves. A fancy keyboard is of no use if you’re missing one of your fingers, so better be safe :)
ETA and parting words
Getting a kit from Massdrop takes the most amount of time, usually because of keyswitch availability. A non-common keyswitch usually takes a longer amount of time to be delivered. I bought my kit around November 2013 and it arrived in the Philippines around February 2014. The long waiting time in my case seems to be affected by the Christmas rush. A mistake I made is waiting for the kit to arrive before gathering the tools that I need. I suggest you buy the other tools while waiting for your kit to arrive, esp. if these tools have to be shipped internationally. Actually, the same is true for tools that are available locally because sometimes stores run out of stock. Better get a reservation, or even better, borrow from a friend who already has these tools. Another good use for your time is to watch videos on how to build the Ergodox. I got everything I need around April, but I had to wait for another two weeks and I was able to finish the keyboard around May because I damaged the teensy with ESD, which will be the topic of the next part of this series.I’ll write about my experience on soldering the keyboard, pitfalls, and how to avoid them. Stay tuned for the next article!